

The Storm That Started It All
In May 2026, the region I live in was hit by tremendous storms. First came the rain; 216 mm over 48 hours. This was particularly damaging in itself, as this level of rain broke a 12-month drought period. Erosion and flooding was rife. Then, to add salt to the wound, winds hitting up to 160 kph (100 mph) hit just 2 days later, tearing roofs off buildings and blowing down trees all over the town and nearby city. The ground was so saturated that the high winds had an easy time of it, felling trees over roads and crushing buildings and vehicles left, right and centre.
Months later, the community is still recovering. It was a hell of a thing to experience. If you have ever lived through one of Mother Nature’s “reminders” that she runs the show, you will know what I mean. If you haven’t, well, let me put it this way; it’s like being slapped in the face by Goliath…and then drop-kicked through a tempered glass door by Sekhmet herself. You feel completely and utterly tiny, infinitesimally insignificant, a biological micro bug on Mama Gaia’s abiotic jack boot. Nature doesn’t give a flying saucer about you, your political beliefs, your financial position, your race, your religion, your creed, what material possessions you own, what ideals you hold, nothing. We all end up in the recycling bin one day and life continues.
From Garden Disaster to Carport
Our garden looked pretty beaten up after the storm, trees lying over other trees, large broken limbs hanging off the remaining skeleton of a stunning old fig tree that narrowly missed the house and debris everywhere. We were very lucky though; many people had trees destroy their houses and cars, so we came out of it with a messy hairdo by comparison rather than a broken face. Born from the destruction, however, we got the opportunity to do some much-needed landscaping. This, in turn, brought about the opportunity to build a proper house for our precious transport.
After the storm, we realised that the fig tree had come apart from a beetle infestation, so we couldn’t just take the damaged limbs off and leave it be. Sadly, the whole thing had to come down to mitigate any potential damage to the house in future. It was a glorious tree, full of figs in the summer, which attracted a plethora of wildlife in the form of herds of epilated fruit bats, troops of birds and huge pods of invertebrates day and night. You will be missed, Figgy.
This did, however, open up the space needed to build the carport. And what better way to plan a DIY build than to use the very tech I use on a daily basis for much larger-scale operations; drones, photogrammetry and GIS. T learn more about these amazing tools follow the link here: https://geowingacademy.com/courses/free-mini-course/
Why a Normal Carport Wouldn’t Work
The first scan gave us a fantastic overhead view of the lie of the land. Now, this was important for planning, as this carport (which will become a proper wooden garage in future) was no ordinary 4 poles in the ground with a roof on top. And there were two valid reasons for this; the space available in the garden relative to the gate is rather awkward, and two (also the most important), the requirements for the missus! You must understand, my missus has a very specific and cunning plan for the future of the property and, in her forward-planning wisdom, factored in a number of considerations for the build that would see the future of the space utilised properly when other amenities would be added on. One of these future considerations is an office which would be married to the back wall of the carport. This would save on cost and also save on space; after all, one wall will already be there. Symmetry was also a consideration; the back wall of the carport/future garage had to run parallel to the front wall of the house.
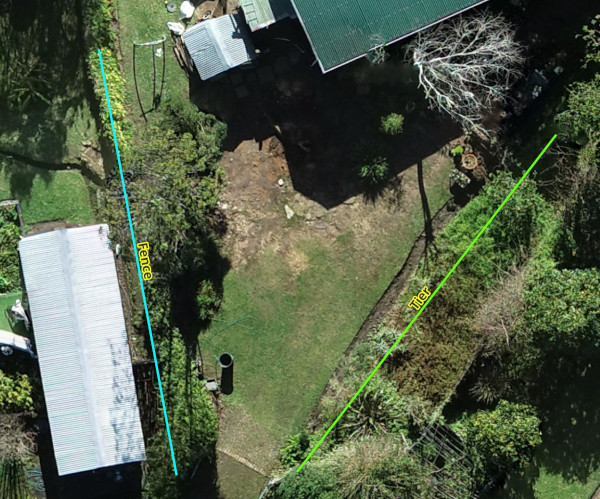
Image 1: High resolution drone ortho map with the fence (blue) and garden tier (green) illustrated by the lines in GIS.
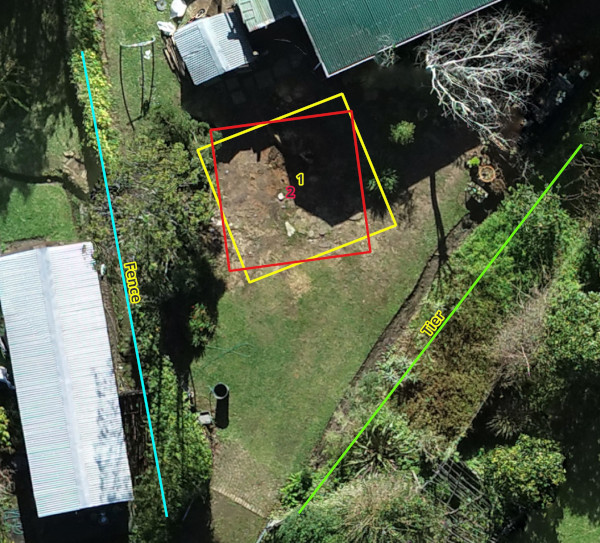
Image 2: Scale test designs 1 and 2 in the space. Square design 1 did not fit the requirements set by my missus and design 2 did not allow enough space for a car to be manouvered in an out easily with the bikes also occupying the carport
Using a Drone to Map the Space
So a high-res, up-to-date map and 3D model of the space, generated from drone photos in photogrammetry software, helped us design the perfect carport/future garage in geographic information systems software. We were able to position different designs, starting off with a couple of square designs that simply would not have worked. As I said before, the space was awkward. Perpendicular to the gate is a beautiful tier full of flowering plants to the East. This, along with a fence to the West, bottlenecks the space towards the gate itself and therefore makes turning or reversing a vehicle in the space awkward. We were able to test how the car would move through the space by using its actual dimensions and the digital surface model (DSM) and 3D model (the car was deliberately captured in the drone scan for this exact reason). So a square wouldn’t work; the best option, and possibly the only option, was to make the carport/future garage rhomboid. FUN! This would make it a pretty challenging build
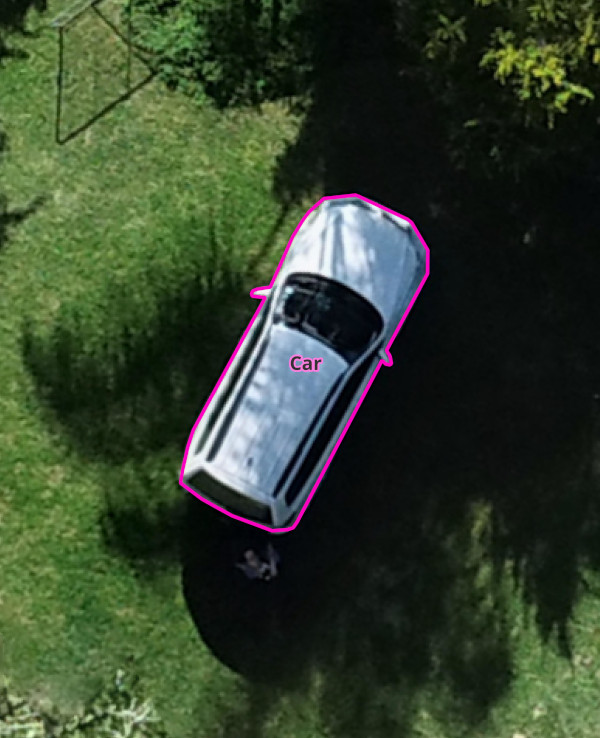
Image 3: The car outlined to scale in GIS
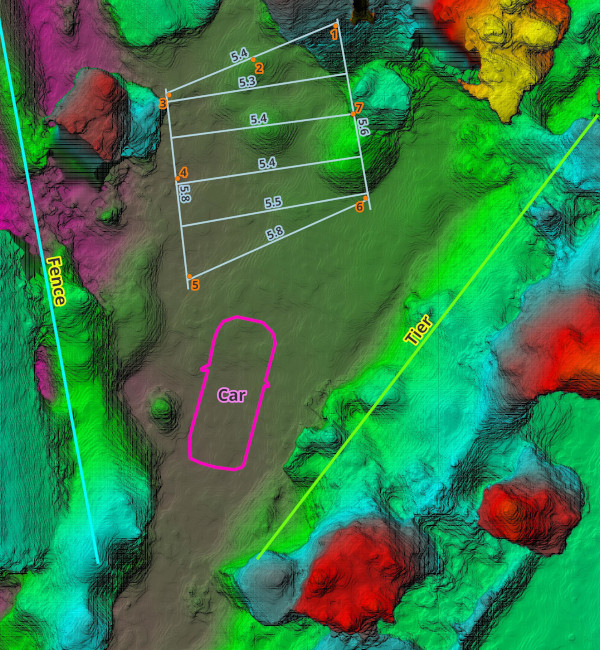
Image 4: Car, carport rhombus design, roof frame and 7 poles to scale with measurements in metres overlayed to the DSM. The DSM shows high (red-tree tops), middle (blue/green-bushes fence) and low (purple-ground) areas within the map using 3D data.
Strength And Cost Estimation
Now that we had our shape, it was time to design the structure to be as windproof and rigid as possible in case Mama Gaia decides to give us another lesson in future. From our map, we were able to measure the lengths of material we needed in terms of steel lip channel for the roof frame, IBR roof sheeting requirements for the odd shape and 150mm diameter CCA-treated pine poles. Because we now knew the measurements for the superstructure, we could then work out the cost estimate for all the materials, HOORAY! Now I say estimates because, as with any build, you realise along the way that you may need more of this material because of this unforeseen funny-angle thing, or more bolts because this bracket needs more contact points, or different-sized coach bolts because the one 125mm will clash with another 125mm, so you need two 100mm instead. Or these bracers need stiffening; therefore we need more of material y. You get the picture. This is especially challenging when you are building a rhombus, it turns out, but we knew there would be some challenges, and having the cost estimate really helped work out the budget with some room for additional unforeseen purchases.
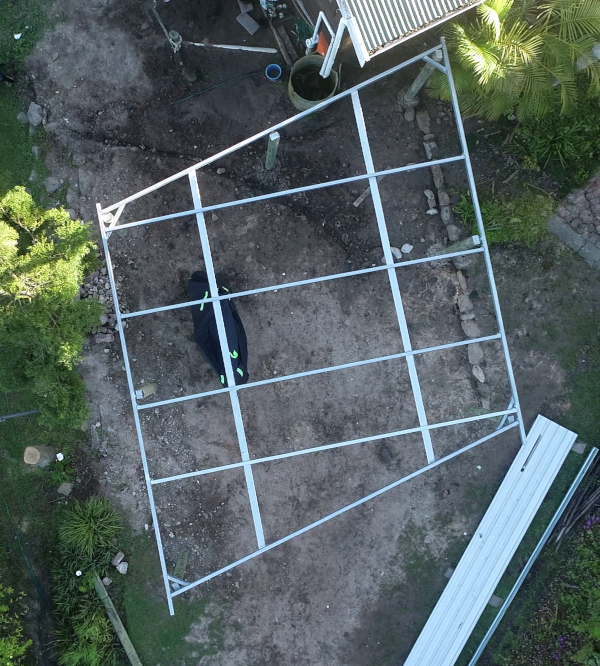
Image 5: The drone was used to scan the area once again after the roof frame had been built. Note the two reinforcing braces added to the super structure for strentgh after it became aparrent that the free standing perlins were not stiff enough.
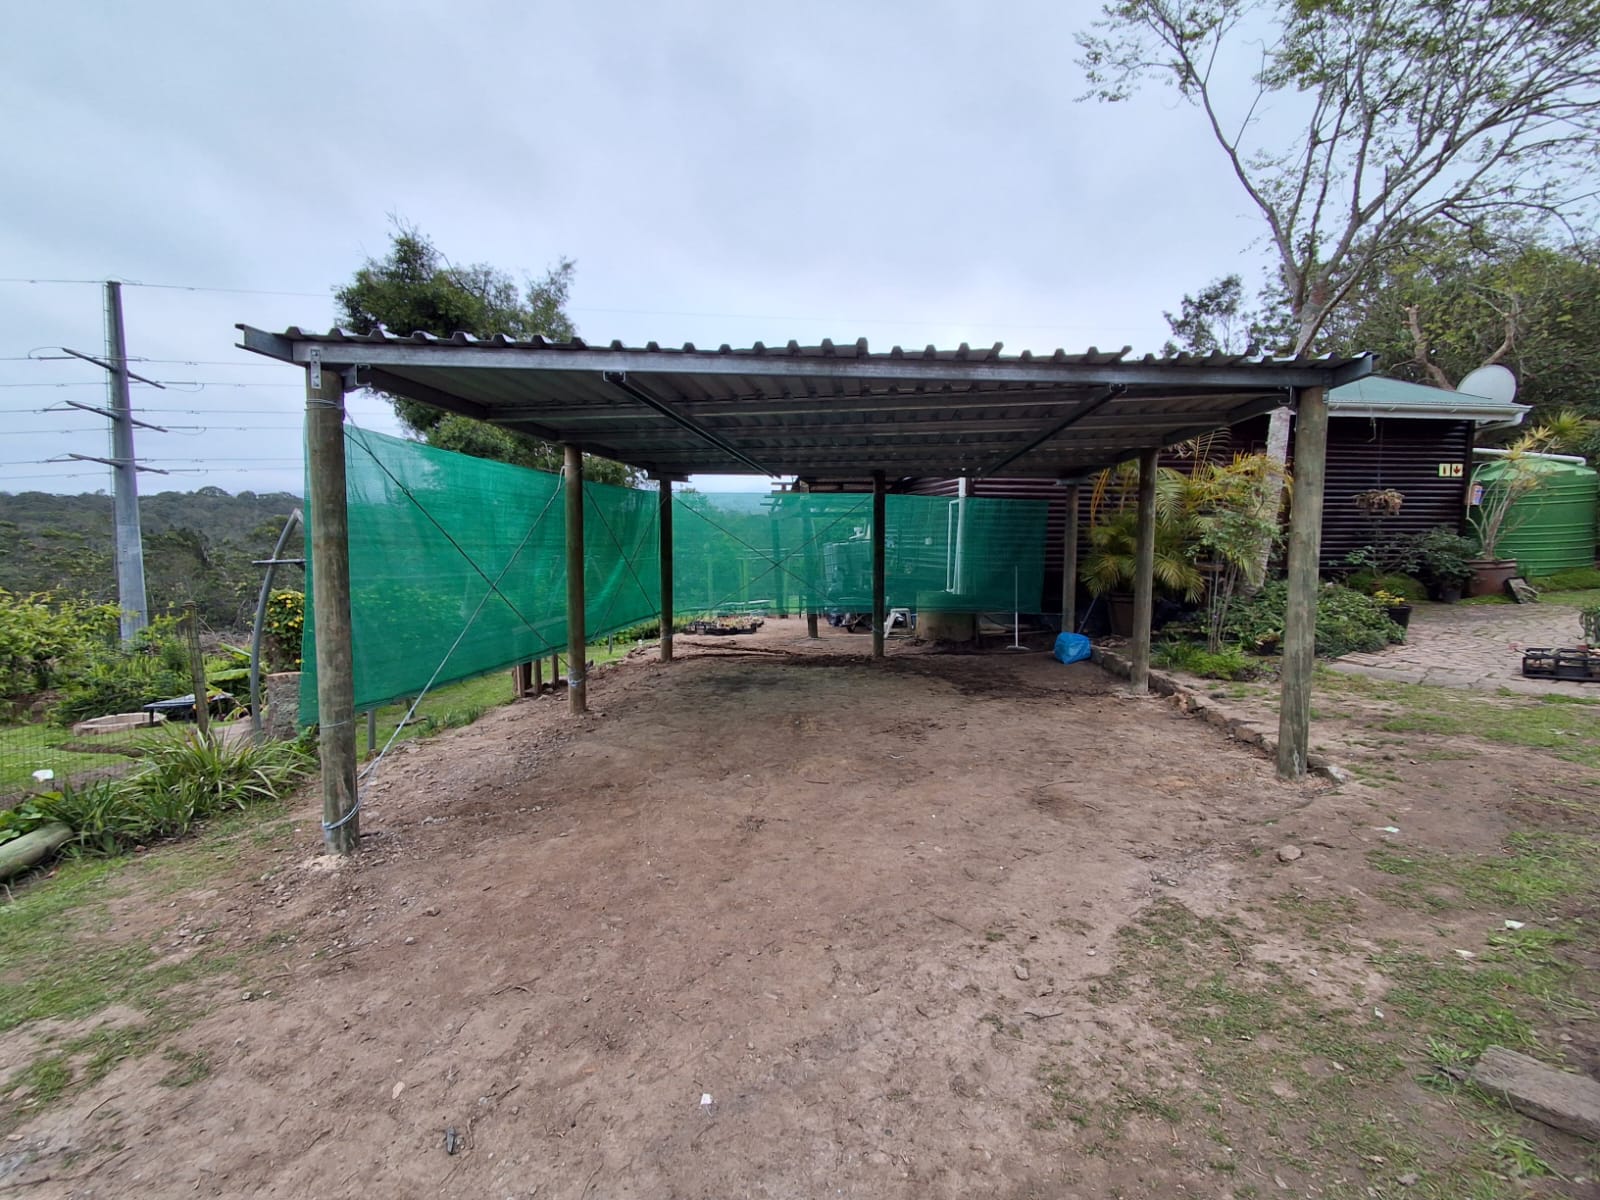
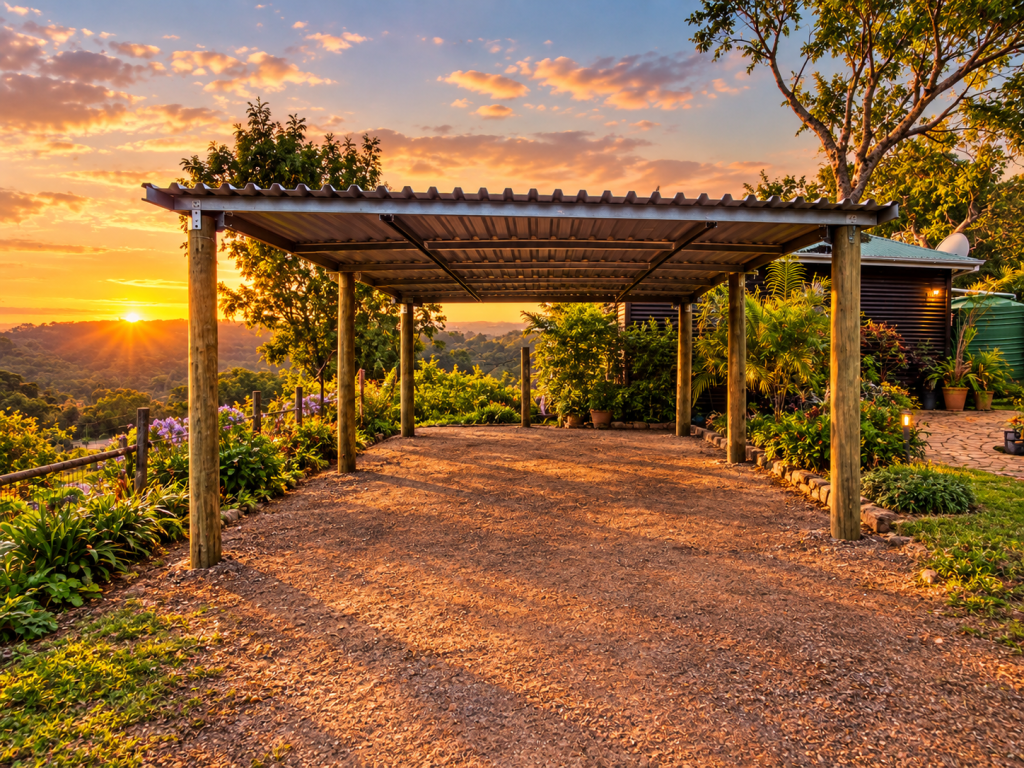
And finally, here is the real thing! All in all, it worked really well, and now we have a home for our car, bikes and stuff that doesn’t fit in our tiny house that we really need to get rid of !
!